Tuesday 26 March 2013

I Love Lamp(s) :)

So remember those lamps I purchased a few weeks ago from the thrift store? Well, they got a makeover yesterday!!


I contemplated for about a week and a half before deciding what I wanted to do with them. Initially I thought I would tea dye the lamp shades and then fill all sides with black writing, tutorial here, but I wasn't sure if I liked the color of the base that much, and if I tea dyed the shades, I had no idea what color to paint the base. So I though a bit more, and decided to go with a brighter color for the base and then keep the shades white.
 
I bleached the shades pretty much as soon as we got home with them, they were a bit stained and brownish looking , bleh!, I used my massive kitchen sink, and made a mixture of pretty strong bleach water with a bit of laundry detergent. I let each side soak for a few minutes and then scrubbed all sides with a sponge (I'd use a brush next time, the bleach started to eat the sponge!) I used dabs of bleach to get at some of the tougher stains and then rinsed them really well with warm water. When they dried, they looked much nicer and whiter then before!
 
Anyway, back to my paint color! I decided to go with yellow, our bedroom is blue (not sure what the color is called, we didn't paint it, we're in a rental) and our bedding is brown and cream/white.
 
 
BEFORE...

AFTER FIRST  COAT...

AFTER SECOND COAT!!
 (sorry about the really not good pictures, I have never claimed photography as a gift of mine!!)


Bad lighting, but here you can see the color better on the base, it actually looks more neon in the picture then in real life. Its more of a golden yellow (Belgian Gold OR-266 Origins by Benjamin Moore).  Oh! And by the way, those nightstands are definitely going through the makeover station yet!! Not sure what color but they are not staying the way they are:)


(Don't you just love my turtle?? He's the cutest stuffed animal! A gift from my super duper hubby! and I completely realize he's not exactly high fashion but I think he's cute, so he's staying!!!)
 Ok, so our bedroom clearly needs some work, the window is covered with cardboard from the box for our fan, so window coverings are definitely in the future! (unless we move...)  But that's what I'm working on!!  Slowly but surely I'll pull it together... well that's the plan anyways. I also need some art or mirrors or something to hang on either side of the bed by the lamps I think, we'll see what I come up with!


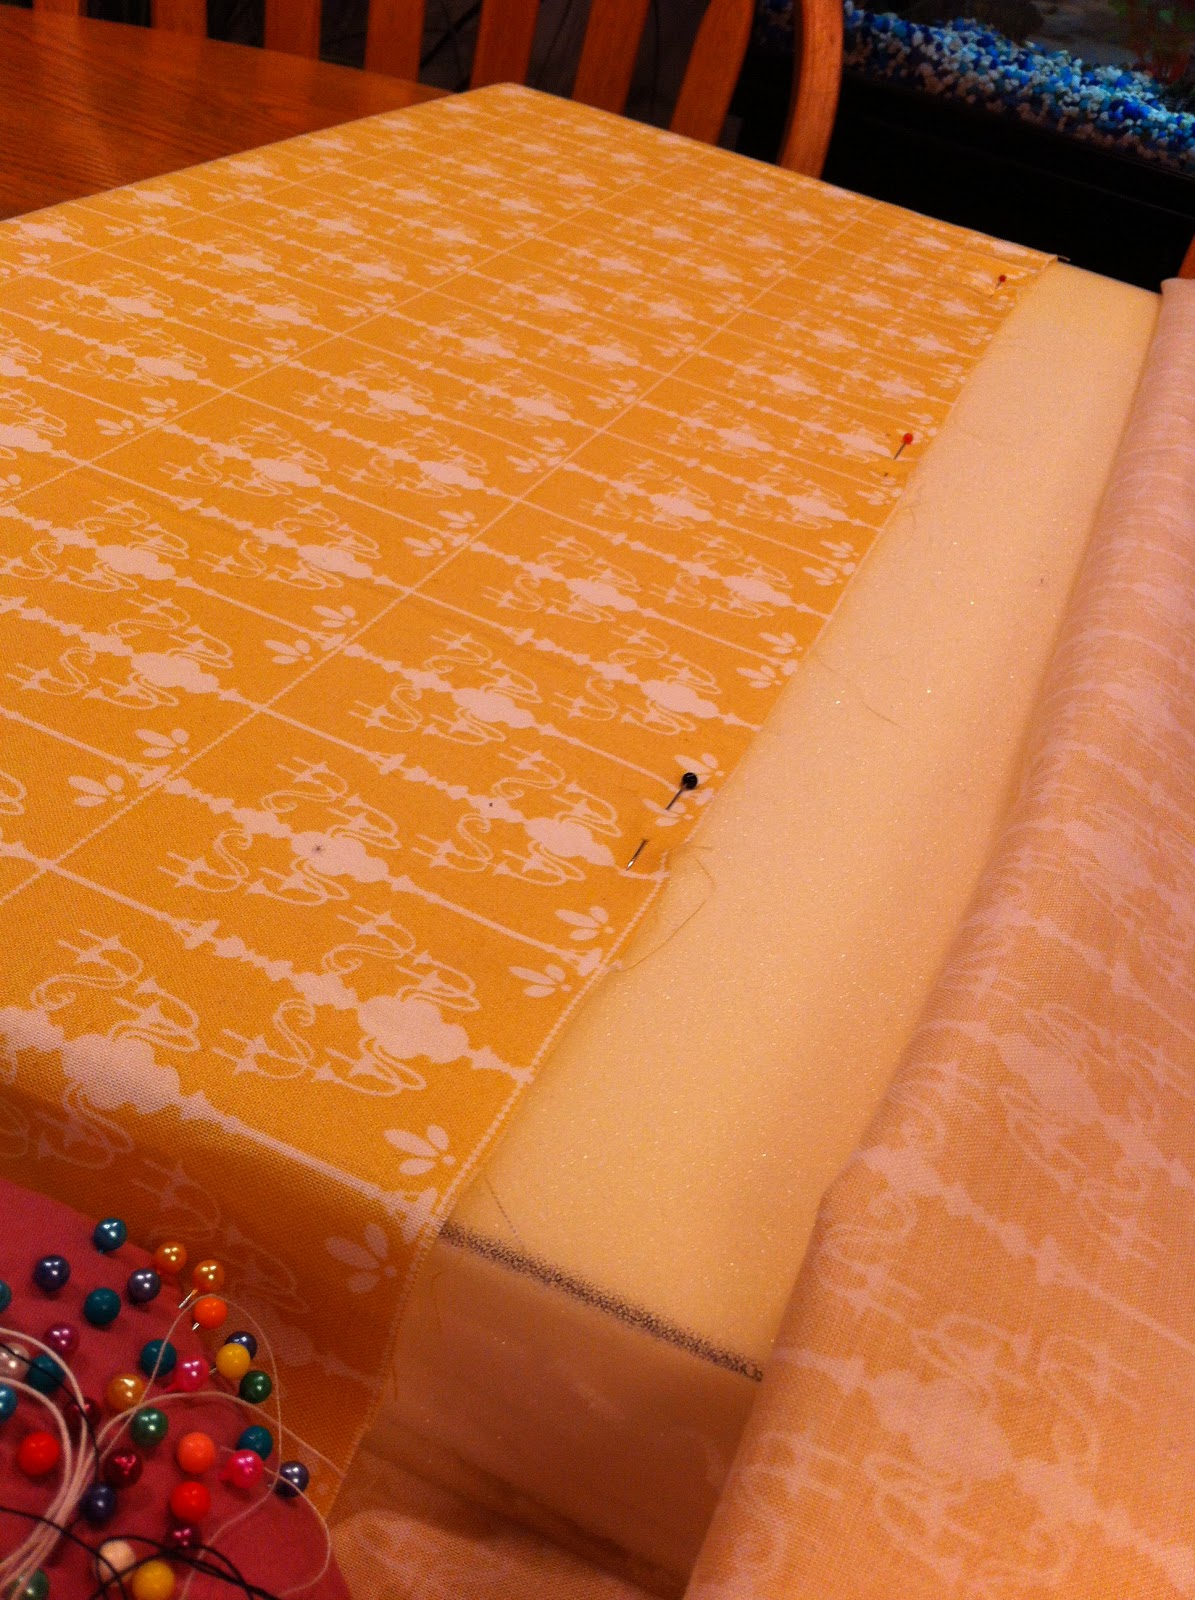
The color of my lamps was inspired by the leftover chandelier fabric from my bench that I wrote about last week. I covered three small canvases with the material and hung it in our room. Not amazing, but it added some color and showed me that the color worked well with the paint in the room. (by the way, there are two other redo's in this last photo! I picked up the dresser for $25 at a thrift store and repainted it about 4 years ago, and just recently repainted the mirror that was given to me by my sister-in-law!!)

Monday 25 March 2013

Easy Raspberry Jam

People always tell me how much they love homemade jam, but most of those people have never attempted to make it themselves. They've just lucked out somewhere and got the opportunity to taste someone else's. Nobody ever wants to believe me that it's one of the easiest "do-it-yourself" cooking projects you could do. Here is my super easy, very yummy raspberry jam recipe.
 
I have tried the cooked version as well as the no-cook freezer version of this jam and they are both really good and easy, but Rod and I both prefer the freezer version. It keeps more of the bright red color and the flavor is fresher in my opinion.
 
You will need:
 
* large stainless steel bowl or pot
* masher and stirring spoon
* sieve (for seedless jam)
* 6 cups fresh or frozen raspberries
* 2 tbsp. lemon juice (from a bottle or freshly squeezed)
* about 2 - 2 1/2 cups sugar
* pectin (read instructions on box)


Step 1: Mash the raspberries until they turn into a  nice and mushy pulp.
(sorry, I didn't get a picture of it looking nice and mushy before I added the sugar)


 Step 2: (optional) Take some or all (depending on how many seeds you want to get rid of) of the pulp and in layers squish it through the sieve. Make sure you get as much of the juice squeezed out of the pulp as you possibly can. Then discard the pulp and seeds that are left over in the sieve and do another layer, until you have separated as much of the juice from the seeds/pulp as you want. Its ok to leave some of the pulp and seeds in, its really just preference as to how much you remove if any. Rod likes having seeds in his jam, I prefer none. (I didn't remove the seeds this time around so I have no pictures of this step)
 
Step 3: Time for the lemon and sugar! It's really up to you how much you want to add. The lemon juice helps bring out the flavors of the berries and I found that  2 tbsp. was perfect for my taste. You can kind of taste a lemony flavor but it mostly tastes like really good raspberries! I would say taste the raspberry juice before adding any sugar, and then start adding it in 1/4 or 1/2 cup amounts. Most jam recipes will call for more cups of sugar then fruit and that just seems wrong to me. Just keep adding sugar and tasting the jam until you think it's sweet enough. For me that was about  2 cups. Stir the jam until all the sugar is dissolved and the juices start looking clear.


Step 4: Follow the directions on the box or paper insert  for the pectin. Once you have prepared the pectin as per directions (pretty much adding it to water and bringing it to a boil), stir it into the jam and keep stirring for 3 min.


Your jam should look like this!!


Step 5: This jam is stored in the freezer, so you can pour it into plastic containers or even glass jars. I use jars because I have a lot of them! And that's it!! It took me about 20 min from start to finish the other day, and now I have three beautiful jars of yummy, fresh raspberry jam. (somehow on my monitor the color of the jam looks more like pizza sauce, but I promise in real life it's the perfect red color for raspberry jam!)


I hope this inspires someone to try making they're own jam! I use this same recipe for strawberry jam with amazing results! (just skip over the seed removal step entirely) Oh, and we store one jar in the fridge to use because it gets pretty thick in the freezer. The more sugar you add the more runny it will stay in the freezer.


Tuesday 19 March 2013

Thrift store finds... again:)

Have I already mentioned I love thrift stores? Especially lately. My mom came to the city this week so her and I headed off to Value Village this evening. I scored big in my opinion! Five super old hardcover books (the oldest is from 1865!), and two ceramic elephants:)
 
I can't wait to go pick up some spray paint and give these guys (the elephants) a nice makeover. I'm thinking maybe yellow?? Not sure yet, all I know is that it's happening soon!!! The books are super awesome, they are hopefully only the beginning of a ginormous collection that I'm planning on having by the time we build/buy our own house, (a zillion years from now... or that's what it feels like anyway.)
 
 Slowly but surely, I am starting to figure out what kind of style I like in a home. With a lot of help from the internet of course! But hey, good ideas are good ideas no matter where they come from, right? All I know is my pinterest account is very quickly becoming my own little home makeover collection. I spend way to much time on there:(
 
Another upcoming project is my tv/spareroom/den makeover:) Well, not really a makeover but a pretty good rearranging is going to happen. Right now our living room space is sort of split between two rooms, our kitchen/dining room/living room are all in one large square room. I'm hoping to turn the spare room into a more functional living room space that is still versatile enough to be used as a guest room when needed and then the kitchen/dining room will no longer be the main hosting area.
 
I will need to use quite a bit of brain power (and Rods muscles) and imagination to make it work, but I'm pretty hopeful it will be great once its done. I don't have any pictures yet but there will definitely be many once I get started!
 
Till next time! :)

Sunday 17 March 2013

The Bench Reveal!

 
So, yesterday evening I ended up finishing my bench project!! I was way to excited about it not to finish it. When I was at the fabric store yesterday afternoon, I spotted a piece of foam that looked like the perfect size for the top of the bench so I snapped it up for a few bucks along with my super awesome yellow chandelier cotton!


I decided to go with a "no-sew" version for the cushion,(not really because I wanted to but because my sewing maching is still broken.) So I pulled out my trusty little glue gun and went to work! First I pinned one side of the fabric to the foam so that I'd be able to pull the other side nice and tight. Oh, and my fabric is patterned so I had to make sure to place my foam on the fabric so that the lines were straight and parallel to the edges of the foam.
 
Then I got to work with my glue gun.  First I folded over the raw edge of the overlapping piece of fabric to give it a nice finished look, and then I glued that edge down onto the piece pinned to the foam! Easy peasy, and you don't need a sewing machine or have to deal with needles! (except for the minor pinning at the beginning.... I ryhmed!!)


 Here's a photo showing how the edges looked once I was done...(actually they still look like that :0 ). Nice and smooth and as far as I can tell the glue should hold it together quite nicely. Doing the ends wasn't hard either, it's just like wrapping a present!


Here's before and after pics, they're not even comparable, for a while before I decided to redo this bench, I actually thought of bringing it to the dump. It was ugly and not functional at all, but now I am really glad I held on to it and just fixed it up!
 
 
Before
 
I love how it looks against the blue wall in our bathroom, and since my towels were yellow already it fits right in! Super happy with how it turned out!!
 

After!!!!!!!!


Saturday 16 March 2013

New Treasures vs. Old Treasures!

Anyone that knows me well, knows that I absolutely love thrift stores. Unfortunately a really tight budget and a very small apartment don't allow for me to bring home everything I would like to:( But every now and then, I'll find something that I just can't leave behind! Like yesterday, I dragged Rod to Value Village in the evening, (just to look around I said...) well we walked outta there with two lamps ($19.99ea), a balance board, a wooden trinket holder and vaccum seal bags for blankets!!


What got me the most excited was obviously the lamps! We currently have very small lamps on our nightstands and I've been dreaming for a while about swapping them out for some bigger, better lighting. Well, here they are! Now comes the hard part though... I really want to change the color of the lamp bases and possibly the shades. There are so many options of how to do it and what colors to pick. Lately I've really been feeling bright pops of color, my house right now is mostly decorated with black stuff. very blah!

 My plan is to incorporate just the right amount of color, which might sound relatively easy to a lot of people, but for me being the person that always reaches for the black/grey/brown color palettes, its a bit more difficult.

Not only is the problem what color, but what method do I use to change the color?? I've seen tutorials on dip dyeing, painting, fabric covering, tea dyeing and I'm sure there's others!! Oh yeah, writing on your lampshade with sharpie marker (which I really liked!) So for now I guess they will stay their current color until I figure out what I want. I did bleach them this afternoon, (while Rod was at his MED SCHOOL INTEVIEW!!!!!!!! AHHHHHHH!!) sorry about the mini freak out session, but it's a pretty big deal!! Anyway... moving on...


So that was the new treasure, and here is the old treasure!


Looks pretty boring and ugly, but don't worry! I've got a plan... here's the in progress stage....


A coat of paint can make anything better! And yes, that is the fabric and cushion that are going on top when the paint dries. Here's a closeup of the fabric, it has chandeliers on it!!! So cute.
 
The true color is pretty much what you see in the center of the photo, the edges came out a bit orange on my iphone camera.
 
 And just to complete the VV goodies display, here's the trinket tray I picked up for $2.
 
 
I am planning on sanding it down, and spray painting it some fun color as well:) Yup, I'm a little paint crazy right now!! I feel like I could paint everything in my house, but I won't.........hehe!


Thursday 14 March 2013

Bad day and Good Food!!

Today was one of those days, the kind where I'd rather go crawl into bed and sleep for a few hours then be at work. It snowed a few inches this morning and we're back to cold, windy, dreary winter conditions. Bleh! I am so super duper excited for summer its not even funny. Actually I've been looking forward spring since about... oh umm, maybe the end of August?? I know, its pathetic, I live in a northern climate and winter should just be a normal accepted part of life, but I just can't seem to accept or enjoy it that much.:( Plus, I managed to pop out another coldsore :(, sadly I am one of the many that suffers from this painfull, annoying and completely unflattering virus. Definately not something that makes your day.

Anyway! Enough of that. On to some food related topics! I tried quinoa for the first time today (it might be the second time actually but I can't remember how it tasted the first time so I'll say its the first) and loved it!! I didn't do anything fancy with it,  I just wanted to cook it and be able to taste the real deal.

 I actually ended up eating it plain, so much better then rice! Totally going to start using it as a regular weekly (ish) part of my somewhat irregular and unorganized mealplan. I love meal-planning and when I take the time to actually write it all down and make a grocery list, it works really well. Sometimes I need a good kick in the pants though to do it. (The last couple of weeks have not been very stellar in the planning/organization area.)

I bought a new cookbook the other day called The Loonespoons Collection, its amazing! So many pictures and funny little cartoons all throughout, its really fun to look through. A friend of mine has it and she cooks from it regularly, including an amazing chocolate three layer cake for my birthday last week! I'm pretty sure I gained 10 lbs in this last week alone trying to finish off the last 1/3 of the cake. Which reminds me... I could really use a piece right now:). Heres a pic of the book, from Costco for $19.99.


Food is one of those things that I can't say no to, especially sugary, bad for my love handles, good for my heart (not my physical one mind you!) goodies! I have recently toyed with the idea of giving up sugar, even just for a short time, but I always manage to find some excuse for why I should put it off, like "oh wait, it's my birthday tomorrow", or "I'd rather start at the beginning of the week", or the best one, "but I can't let this go bad, it has to be eaten!" Like I'm doing the food a service or something. Somehow that makes sense to my sugar craving brain.

Who knows, maybe soon I'll find the determination/motivation/desire to attempt a sugar fast, and then again, maybe I'll just start going to the gym instead:)

Wednesday 13 March 2013

How to start....

So, my first attempt at this thing called "blogging"... I have absolutely no idea what I'm doing. I guess I'll start off with why I decided to try it. Lately I have been reading quite a few home improvement/DIY  blogs and they make me feel really inspired. I realized that I do a lot of things (craftwise and cooking) that I could probably share, so here I am!

Wow, this is harder than I thought, I might have to let go of some inhibition before I get the hang of this! Writing in  a journal is always easy peasy for me, pages fill up before I know it so I know there are a lot of words in my head:)

Some of my favorite pastimes are knitting and crocheting. Give me a new ball of yarn and some fat knitting needles and I'll be quite content for many hours at a time. Just recently I knitted a Cowichan sweater, and I asolutely love it! Now if only my sewing machine wasn't on the fritz I could finish it by sewing in the zipper so I could actually wear it.
When I started this project, I was quite intimidated, but surprisingly the pattern was super easy to follow and it didn't even take very long. I would estimate I spent 10-15 hours knitting and putting the pieces together. I do have to lengthen the sleeves a bit, probably about 1 1/2" to 2". It should be pretty easy and still look good because I'll add pieces long enough to fold over so you won't see the seams and they'll have a nice chunky cuff! This project is definately one that I'm going to repeat. Buying a sweater like this in the store will run you at least $100.00, well this baby cost me $20.00 in materials. (not counting the needles I bought specifically for this sweater cause I'll be able to use them forever). I used Bernat chunky yarn and it feels amazing, its soft and is supposed to be really washable which is a major bonus. I'm already dreaming about which colors and pattern I'm going to use for my next sweater:)